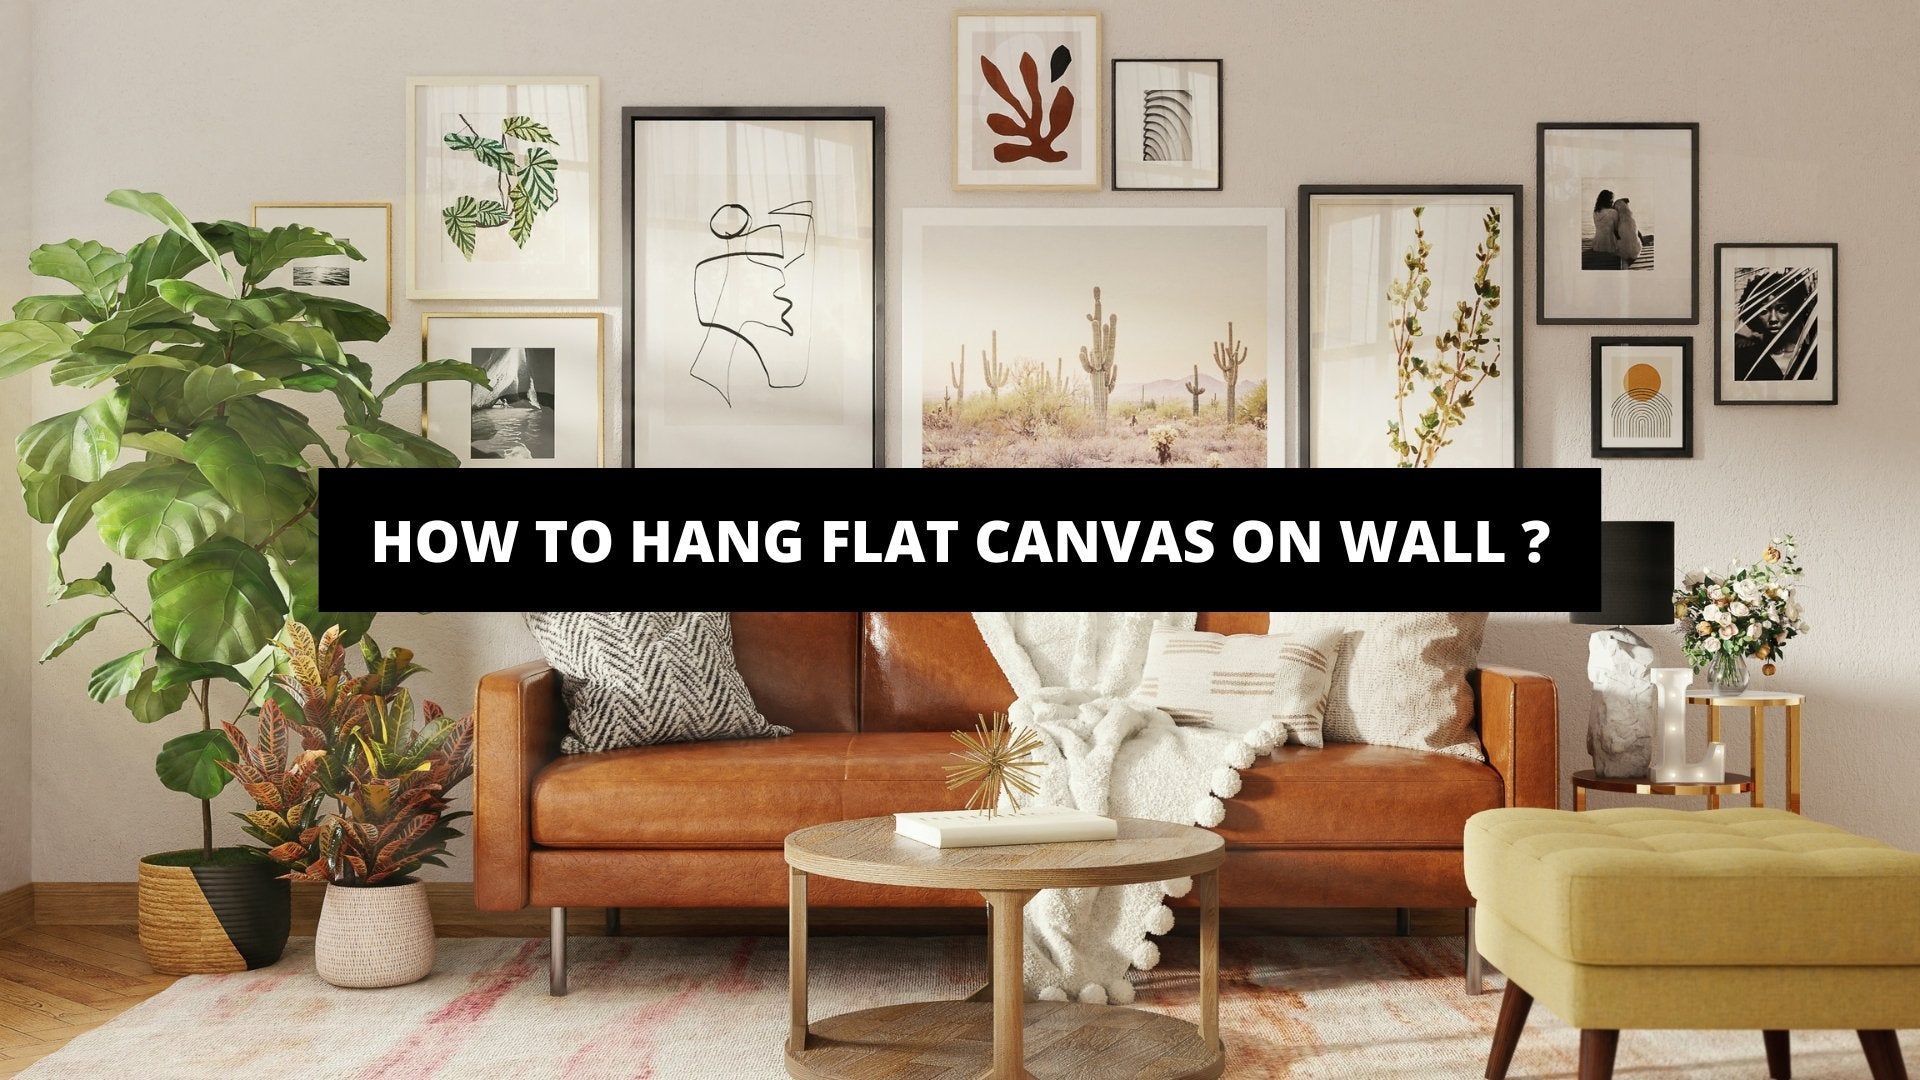
Hanging a flat canvas on the wall is a popular way to display art or photographs and can add a stylish touch to any space. However, it's important to do it correctly to ensure stability and proper positioning. This article provides a step-by-step guide on how to hang a flat canvas on the wall.
Choosing the right hardware is crucial for securely mounting the canvas. Options like D-rings or picture wire can provide stability, while wall anchors and screws are useful for heavier canvases. Measuring and marking the wall is the next step, including finding the center and determining the height for optimal placement.
Preparing the canvas involves cleaning the surface to ensure a smooth and dust-free installation. Attaching D-rings or picture wire securely is essential for stability. Hanging the flat canvas involves using a level and tape measure to ensure straight alignment and accurate positioning.
Final adjustments and tips include checking the stability of the canvas once it's hung and making any necessary adjustments. For those hanging multiple canvases, methods for leveling them are also provided. By following these steps and tips, you can confidently hang a flat canvas on the wall and create an aesthetically pleasing display.
Choosing the Right Hardware
When it comes to hanging a flat canvas on your wall, choosing the right hardware is key. In this section, we'll dive into the two main options: D-Rings or Picture Wire, and Wall Anchors and Screws. Discover the pros and cons of each, and find out which one suits your needs best. Don't let your precious artwork go unnoticed - let's ensure it's securely and beautifully displayed on your wall!
1. D-Rings or Picture Wire
When hanging a flat canvas on the wall, choosing the right hardware is crucial. Two common options for securing the canvas are D-Rings or Picture Wire.
- D-Rings offer a sturdy and secure method of hanging the canvas. They are usually placed on each side, near the top. To hang the canvas with D-Rings, attach a hook or screw on the wall at the desired height and hang the D-Rings on it.
- Picture Wire allows for flexibility in adjusting the height of the canvas and easy leveling. To use picture wire, attach two eyelet screws to each side of the canvas frame at the same height. Thread the picture wire through the eyelet screws and secure it tightly. Finally, hang the wire on a hook or nail on the wall.
When deciding between D-Rings or Picture Wire, consider factors such as the canvas weight, desired height, and personal preference. D-Rings provide a strong and reliable support system, ideal for heavier canvases. Picture Wire offers more flexibility in adjusting the height and leveling the canvas, making it popular for lighter canvases or when aligning multiple canvases.
Fact: The choice between D-Rings or Picture Wire depends on the artist's preference and the gallery's requirements. Factors like aesthetic appeal and ease of installation influence the preference of artists and galleries.
2. Wall Anchors and Screws
Wall Anchors and Screws are essential for hanging a flat canvas on the wall. When it comes to selecting the right Wall Anchors, it is important to consider factors such as stability and support for your canvas. Use Wall Anchors when hanging heavier pieces or when the wall material is not strong enough. Choosing anchors based on the weight of your canvas and the type of wall is crucial.
As for Screws, make sure to select ones that are specifically designed for wall mounting. It is important to ensure that the screws are long enough to securely hold the canvas in place.
Weight Capacity is another important consideration. Take the time to check the specifications and guidelines provided by the manufacturers of the anchors and screws to determine their limitations. This will help ensure that they can safely support the weight of your canvas.
When it comes to Material and Size, it is important to use anchors and screws that are compatible with your wall type. Additionally, consider the thickness of your canvas and select appropriate screws accordingly.
Proper Installation is key. It is important to follow the installation instructions provided by the manufacturer. Make sure to install the anchors and screws straight and level. Using a level and measuring tools will ensure accuracy during the installation process.
For larger canvases or pieces with uneven weight distribution, using multiple screws is recommended. This helps distribute the weight evenly and prevents sagging or tilting.
In cases where you are unsure or dealing with heavy or valuable canvases, seeking professional assistance is the best course of action. Professionals have the expertise and tools needed to ensure secure hanging without causing any damage.
By considering these factors and using appropriate Wall Anchors and Screws, you can safely and securely hang your flat canvas on the wall. This will allow you to display your artwork with confidence.
Measuring and Marking the Wall
When it comes to hanging a flat canvas on your wall, getting the measurements and markings just right is crucial. In this section, we'll dive into the nitty-gritty of measuring and marking the wall, ensuring a precise and balanced display. We'll uncover the secrets behind finding the center, as well as determining the perfect height for your artwork. So grab your measuring tape and let's get started on creating a beautifully aligned focal point for your space!
1. Finding the Center
To hang a flat canvas on the wall, it is essential to find the center. By doing so, you can achieve proper balance and visual appeal. Here are the steps to finding the center:
- Start by measuring the width of the canvas and dividing it by 2. This will give you the center point.
- Using a pencil, mark the center point on the top edge of the canvas.
- Next, measure the height of the canvas and divide it by 2 to find the center point.
- Again, mark the center point on the side edge of the canvas.
- Now, take a level and draw a straight line connecting the center points on both the top and side edges of the canvas.
- Measure the width of the wall where you plan to hang the canvas.
- Divide this measurement by 2 to find the center point of the wall.
- Using a pencil, mark the center point on the wall.
- Align the center line on the canvas with the center point on the wall.
- Double-check the level of the canvas to ensure it is straight. Make any necessary adjustments.
- Lastly, mark the top corners of the canvas with a pencil for reference.
A true story vividly illustrates the significance of finding the center. A friend of mine recently moved into a new apartment and hung a canvas without taking this step. Consequently, the artwork appeared lopsided and unbalanced, which bothered her. However, once she realized her mistake, she promptly took it down and followed the aforementioned steps to find the center. The transformation was astounding. The painting now hangs perfectly centered, serving as a captivating focal point that enhances the overall aesthetic. Whether you are working with a small canvas or a large statement piece, it is crucial to find the center to ensure a harmonious and visually pleasing display.
2. Determining the Height
Determining the height for hanging a flat canvas on the wall requires careful consideration. Follow these steps to determine the ideal height for your canvas:
- Add Measure the height of the canvas: Use a tape measure to determine the height of the canvas from top to bottom. This measurement will assist you in determining the desired viewing height.
- Add Consider eye-level placement: Hang the canvas at eye level for optimal viewing. The center of the canvas should be approximately 57-60 inches from the floor, which corresponds to the average eye level of viewers.
- Add Adjust for furniture or architectural elements: If you are hanging the canvas above furniture, such as a sofa or table, make adjustments. Ideally, the bottom edge of the canvas should be positioned 6-8 inches above the furniture to create a visually balanced arrangement.
- Add Account for the size of the canvas: Larger canvases may require higher placement on the wall. As a general rule, the larger the canvas, the higher it can be placed to maintain visual balance and harmony within the space.
By following these steps, you can determine the proper height for hanging your flat canvas on the wall. Remember to consider eye-level placement, make adjustments for furnishings or architectural elements, and take into account the size of the canvas. With careful attention to detail, you can create a visually appealing display that enhances your space.
Preparing the Canvas
Preparing the canvas sets the stage for a flawless display of your artwork. In this section, we'll dive into the essential steps to ensure a professional hanging. First, we'll tackle the importance of cleaning the surface, ensuring a pristine backdrop for your masterpiece. Then, we'll explore the art of attaching D-rings or picture wire with precision, guaranteeing stability and ease of hanging. Get ready to showcase your creativity with these game-changing canvas preparation techniques!
1. Cleaning the Surface
To hang a flat canvas on the wall, it is important to clean the surface properly for a secure and long-lasting installation. Follow these steps:
- Remove dust or dirt from the wall using a dry cloth or a vacuum cleaner with a brush attachment. This will create a clean and smooth surface for the canvas.
- If there are stains or marks on the wall, use a mild soap solution and a clean sponge to gently scrub the affected area. Avoid harsh chemicals or abrasive scrubbers, as they can damage the wall or canvas.
- Rinse the wall with clean water to remove soap residue. Wipe it dry with a cloth or allow it to air dry completely.
- If there are holes, cracks, or uneven surfaces on the wall, fill them with a suitable wall filler or spackle. Smooth out the filler with a putty knife and let it dry according to the manufacturer's instructions.
- Once the wall is clean and dry, gently sand any rough spots or bumps using fine-grit sandpaper. This will ensure a smooth and even surface for the canvas.
Following these steps ensures a clean and prepared surface for hanging a flat canvas. This creates a secure and visually appealing display.
2. Attaching D-Rings or Picture Wire
Attaching D-Rings or Picture Wire to a flat canvas is crucial for hanging it securely on the wall. Here are the steps to follow for a strong attachment:
1. Begin by cleaning the back surface of the canvas to eliminate any dust or debris.
2. Next, lay the canvas face down on a soft surface to protect the front of the artwork.
3. Measure and mark the desired position on both sides of the canvas for attaching the D-rings or picture wire, ensuring that the measurements are symmetrical and aligned.
4. To make it easier to attach the hardware without damaging the canvas, use a small drill or screwdriver to create pilot holes at the marked locations.
5. Insert the screws provided with the D-rings into the pilot holes and tighten them securely, ensuring they are flush with the back of the canvas.
6. For a well-balanced hanging, attach the D-rings securely near the top corners of the canvas.
7. If you are using picture wire, thread it through the D-rings, leaving enough slack for hanging. Make sure the wire is tightly and securely attached to both D-rings.
8. Double-check the attachment of the D-rings or picture wire to ensure that they are firmly secured to the canvas.
By following these steps, you can confidently attach D-rings or picture wire to your flat canvas, providing a secure and stable hanging solution. Remember to handle the artwork with care during the process to avoid any damage.
Hanging the Flat Canvas
Mastering the art of hanging a flat canvas on a wall is easier than you think! In this section, we'll uncover two essential techniques that will help you achieve a perfectly balanced result. Get ready to level up your canvas hanging game with the secrets of using a level and a tape measure. Prepare to be amazed as we reveal the tricks that will have your artwork flawlessly displayed in no time. Say goodbye to crooked canvases and hello to a professional-looking wall display!
1. Using a Level
For hanging a flat canvas on the wall, using a level is crucial. It ensures that the canvas is aligned and straight, creating a visually pleasing display. Here are key points to consider when using a level:
1. Prepare the level: Before using it, ensure that the level is in good condition and calibrated. Check that the bubble is centered on a flat surface for accurate readings.
2. Place the level: Position the level horizontally on top of the canvas. Adjust it until the bubble is centered, indicating a level canvas.
3. Double-check the level: To ensure accuracy, check from multiple angles and make necessary adjustments.
4. Mark the wall: While holding the level, mark the top corners of the canvas. This step ensures the proper height and maintains the level position.
5. Secure the canvas: Attach appropriate hardware, such as D-rings or picture wire, to the back of the canvas for easy hanging.
6. Hang the canvas: Align the marked areas on the wall with the hardware on the back of the canvas. Carefully hang the canvas, ensuring it remains level based on the marks.
When using a level, it's important to remember that slight adjustments may be needed. Walls can be uneven, requiring minor leveling for a balanced appearance. Take your time and make necessary adjustments for the best result.
By following the steps outlined above, you can ensure proper alignment and enhance the aesthetics of your space when hanging a flat canvas on the wall.
2. Using a Tape Measure
Using a tape measure is essential when hanging a flat canvas on the wall. Here is a step-by-step guide on how to use a tape measure effectively:
-
Using a tape measure, select one with clear markings and a suitable length.
-
Hold the tape measure firmly at one end and extend it to the desired length along the surface you want to measure.
-
Ensure the tape measure is straight and aligned with the edge of the canvas or wall.
-
Read the measurement indicated on the tape measure where it meets the opposite end.
-
Take note of the measurement, being precise with the units (inches, centimeters, etc.).
-
For multiple sides or dimensions, repeat the process for each one.
-
When measuring for canvas placement, consider factors such as height from the floor, centering, and specific display requirements.
-
Double-check your measurements for accuracy before proceeding.
-
Use a pencil to mark measurements on the wall or canvas for hardware or hook placement.
-
When measuring for aligned canvases, use the tape measure to ensure consistent spacing between pieces.
-
Consider canvas width and desired gap between each piece when measuring for alignment.
By following these steps and using a tape measure accurately, you can ensure that your flat canvas will be hung securely and in the desired position on the wall.
Final Adjustments and Tips
After completing the hanging process, it's time for final adjustments and must-know tips to ensure a perfect display for your flat canvas on the wall. We will dive into two key areas: checking the stability of your canvas and mastering the art of leveling multiple canvases. Get ready for some handy tricks and expert advice to achieve that flawless, gallery-worthy arrangement. Let's make those final adjustments count!
1. Checking the Stability
When hanging a flat canvas, it's important to regularly check the stability to ensure that the artwork remains secure. Here is a step-by-step guide on how to check the stability:
1. Examine the wall anchors or screws used to mount the hardware. Make sure they are firmly in place and properly secured.
2. Gently tug on the canvas to test its stability. It should not move easily. If it does, reinforce the mounting hardware or use additional anchors or screws.
3. Check the levelness of the canvas. Use a carpenter's level to ensure that the canvas is straight. Adjust its position if necessary for a perfectly level artwork.
4. Inspect the attachment points of the canvas, whether it's D-rings or picture wire. Make sure they are securely fastened.
5. Apply pressure to different areas of the canvas to test its stability. It should feel solid and not bend easily. If there is any movement, reinforce the attachment points or use stronger hardware.
Ensuring the stability of your canvas is crucial to prevent accidents and damage. Take the time to double-check the mounting hardware and perform these stability checks regularly.
Speaking of stability, let me share a true story where checking stability saved the day! A friend had a beautiful canvas painting hanging in their living room. One day, while hosting a small gathering, someone accidentally bumped into the wall. Thanks to regularly checking the stability, the artwork remained securely in place. It was a relief for them as they had put effort into choosing and hanging the artwork. So always remember, checking the stability of your canvas can save you from potential mishaps and ensure that your artwork stays securely displayed for everyone to admire.
2. Leveling Multiple Canvases
To level multiple canvases on the wall and ensure they are aligned and straight, follow these steps:- Measure and mark the desired height for each canvas using a tape measure for consistency.
- Place the first canvas on the wall at the desired height using a level and adjust if needed.
- Once the first canvas is level, mark the placement for the second canvas.
- Hang the second canvas at the marked height using the level and make adjustments if necessary.
- Repeat this process for any additional canvases, measuring, marking, and ensuring they are level.
- For larger installations with many canvases, create a template using scrap paper or cardboard to mark the placement of each canvas before hanging.
By following these steps and using a level for accuracy, you can achieve a professional and cohesive look when hanging multiple canvases on the wall. Properly hanging multiple canvases creates a visually pleasing and balanced display, enhancing the overall aesthetic appeal of the arrangement and preventing crooked or uneven appearances. This technique allows you to showcase your favorite art or photographs in a dynamic and visually engaging way, creating a stunning gallery wall effect.
Frequently Asked Questions
Question 1: How do I hang a flat canvas board on a wall?
Answer: To hang a flat canvas board, start by measuring the canvas and making marks at the corners of the frame. If the canvas is long, add adhesive strips between the corners for extra support. Press the canvas to the wall, aligning it with the markings. Alternatively, you can use nails or sawtooth brackets to hang the canvas. Place the board over the nail or stud, space the hooks equally on the wall, and apply double-sided tape to the boards. Finally, place the canvas on the nails and secure it.
Question 2: What are some innovative concepts for hanging canvas panels?
Answer: There are several innovative concepts for hanging canvas panels. One option is to use adhesive hanging strips, which are designed with velcro and adhesive to securely attach the canvas without damaging the walls. Another option is to use metal hinge clips, especially for extra large canvas panels, as they provide stability. Additionally, you can consider using push pins for hanging fragile and lightweight canvases or even experimenting with dowels and ropes for a unique display.
Question 3: How can I hang big and heavy canvas panels?
Answer: Hanging big and heavy canvas panels requires sturdy hanging hardware. One effective method is to install a wire on the back of the canvas using eye hooks. This provides strong support and distributes the weight evenly. Alternatively, metal hinge clips can also be used for larger and heavier canvas panels, as they offer a secure hold.
Question 4: What are some decoration ideas for hanging flat canvases?
Answer: When hanging flat canvases, there are various decoration ideas to consider. You can create a minimal look by using adhesive strips or metal hinge clips to display the canvas without any visible hardware. To add a touch of color, consider spacing multiple flat canvases equally on the wall, creating a vibrant mosaic of hues. Additionally, you can mix different sizes and weights of canvases to achieve an aesthetically pleasing arrangement.
Question 5: How do I ensure the artwork is level when hanging flat canvases?
Answer: To ensure the artwork is level when hanging flat canvases, use a spirit level. Before hanging, clean the wall and measure the center point of the canvas for accurate placement. Place the canvas on the chosen hanging hardware, whether it be adhesive strips, nails, or hooks, and use the spirit level to check if it is perfectly horizontal. Adjust as needed before securing the canvas in place.
Banksy Park City
How To Decorate A Staircase Wall ?