
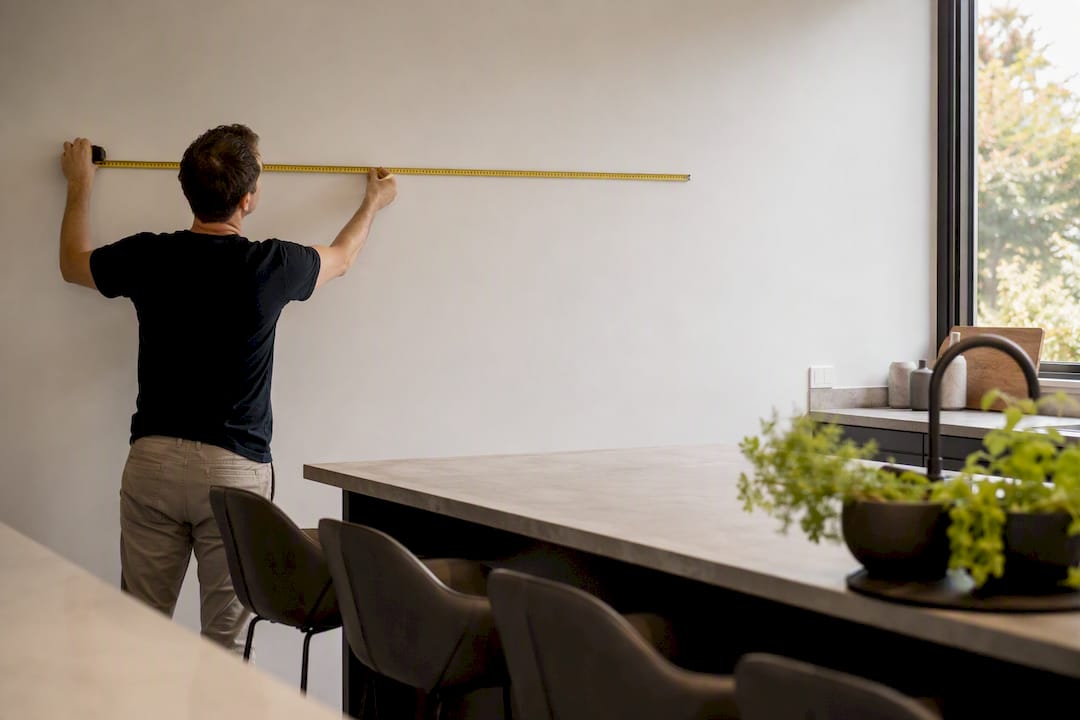
For most rooms, three sizes handle almost every situation: 16×20 for a desk or hallway, 24×36 as a living room or above-sofa statement piece, and 8×10 for gallery-wall filler. If you’re printing your own photo, match the canvas to your image’s aspect ratio before anything else. Cropping to fit a size you love beats sizing to fit a crop you don’t.
Table of Contents
- Standard Canvas Sizes Chart (Inches and Centimeters)
- How Do You Choose the Right Canvas Size for Your Wall?
- What Aspect Ratio Should You Use, and Does DPI Matter?
- Room-by-Room Canvas Size Recommendations
- Canvas Depth and Framing: Which Profile Fits Your Space?
- Hanging Checklist: Height, Spacing, and Hardware
- Why Material and Manufacturing Quality Matter
- What Actually Matters When You’re Sizing a Canvas
Standard Canvas Sizes Chart (Inches and Centimeters)
Canvas sizing breaks into four rough tiers, and knowing which tier you’re shopping in narrows the decision fast. Small canvases work for desks, shelves, and tight gallery groupings. Medium sizes fill hallways and bedside walls. Large canvases anchor sofas and dining tables. Oversized pieces become the room.
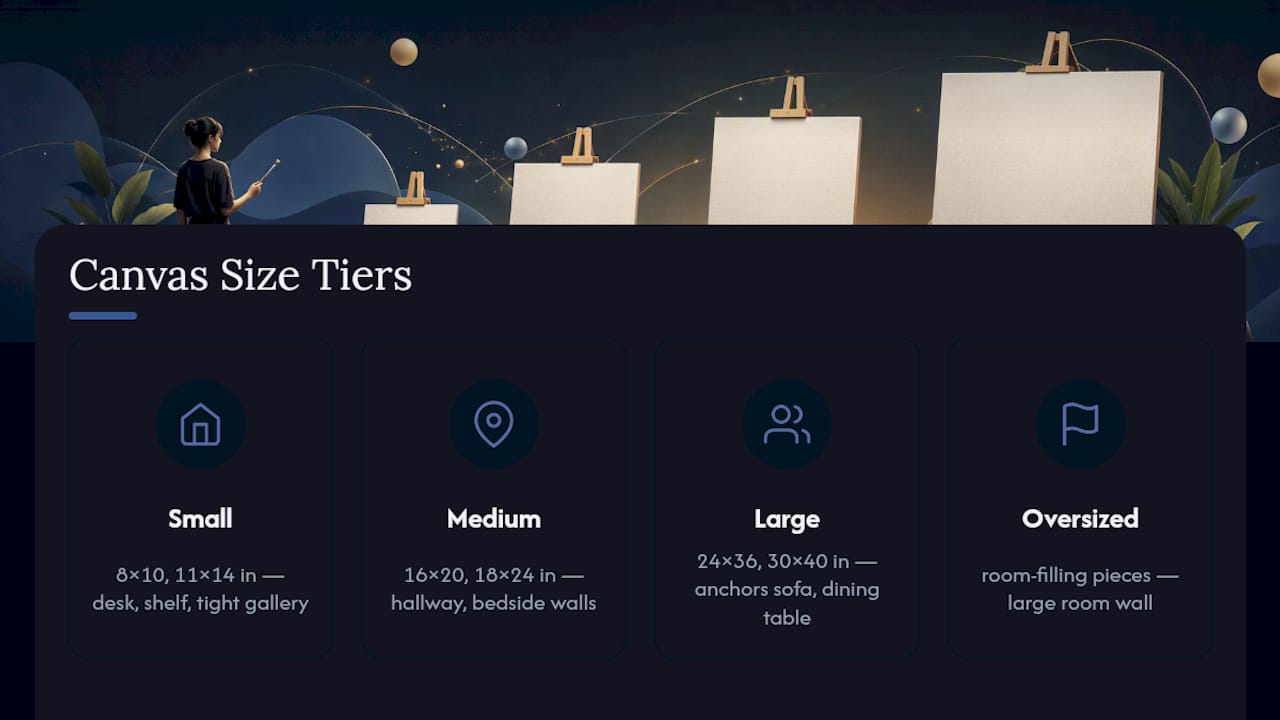
Common sizes include small formats like 8×10 and 11×14 inches, medium options like 16×20 and 18×24, and large canvases at 24×36 and 30×40. The 16×20 shows up constantly because it’s versatile enough to sit alone or anchor a cluster.
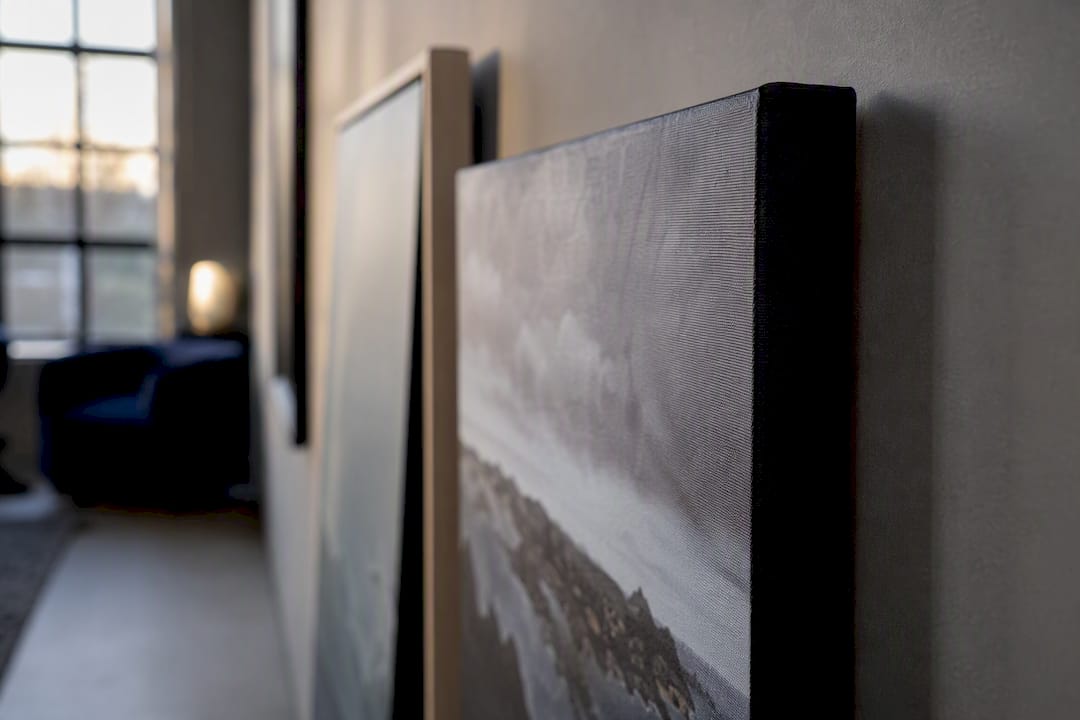
Depth matters as much as width and height. Thin profiles run about a half inch to five-eighths of an inch and look best framed, while gallery-depth canvases at 1.5 inches project off the wall enough to skip framing entirely.
How Do You Choose the Right Canvas Size for Your Wall?
Start with a tape measure, not a guess. Record your wall’s total width and height, then measure the furniture piece you’re hanging above, whether that’s a sofa, console, or headboard.
Lean toward 80% when the piece needs to read as a bold statement, particularly above a king bed where that means roughly 46 to 61 inches of width on a standard 76-inch frame.
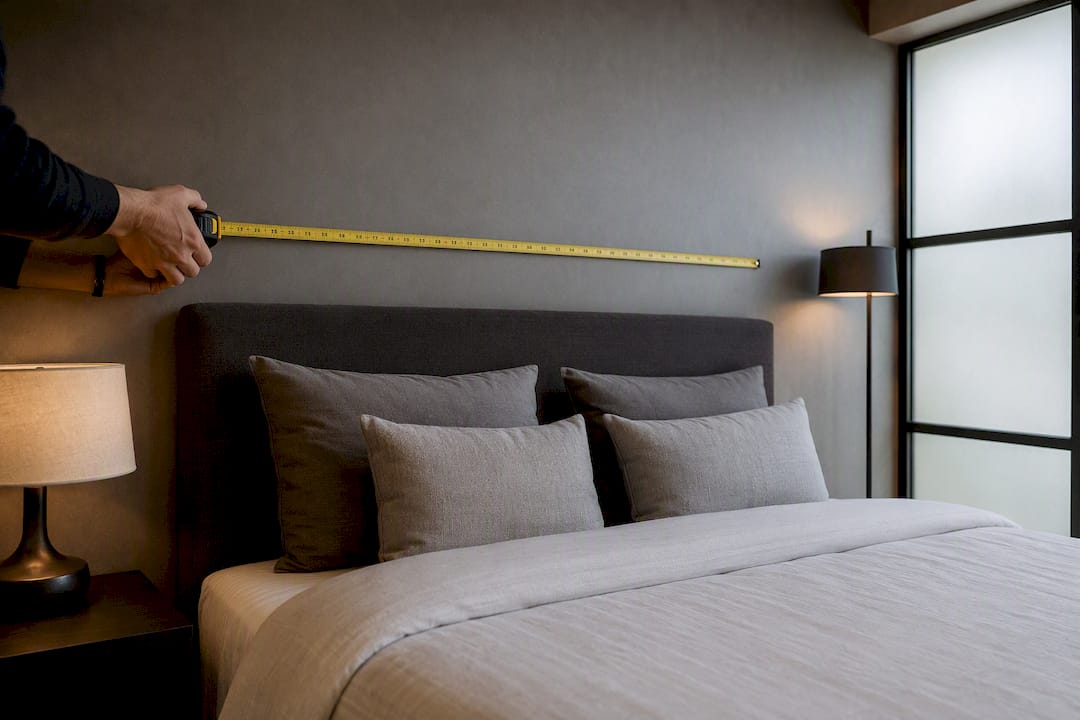
For a blank wall with no furniture reference, aim for about two-thirds of the available wall space.
Before you order anything, tape butcher paper or painter’s tape to the wall at your intended dimensions. Living with that paper template for a few days catches sizing mistakes that measurements alone miss.
- Measure wall width, wall height, and furniture width; write the numbers down
- Multiply furniture width by 0.6 and by 0.8 to get your target range
- Tape a paper template at those dimensions and observe it for several days
- Choose a single oversized canvas for clean, modern walls
- Choose a multi-panel layout (triptych or gallery cluster) when you want texture and visual movement
Pro Tip: Stand at the doorway of the room and look at your taped template from that distance. If it feels too small from across the room, it’s too small on the wall.
What Aspect Ratio Should You Use, and Does DPI Matter?
Your photo’s native aspect ratio should drive your size choice, not the other way around. Forcing a square photo onto a 24×36 canvas means cropping away nearly a third of the image, and that’s often where faces, edges, or key details land.
Common mappings include 2:3 ratio images to 12×18, 16×24, or 24×36, and 4:5 ratio images to 8×10, 16×20, or 24×30. Square 1:1 images fit 12×12 or 20×20 cleanly with no cropping at all.
When your ratio doesn’t match any standard size, you have three options: crop to fit, add a border to preserve the full image, or size the canvas to your image instead of the reverse. Adding a border almost always looks more intentional than an awkward crop.
- Small canvases (up to 11×14): target 200 to 300 DPI since viewers stand close
- Medium canvases (16×20 to 24×36): 150 to 240 DPI works well
- Large statement canvases (30×40 and up): 120 to 180 DPI is often fine because viewing distance increases with size
A canvas printed at 30×40 gets viewed from eight feet away or more, so the eye simply can’t detect the pixel density it would at close range. Always request a proof before final printing, especially at large sizes where a resolution shortfall becomes obvious once it’s on the wall.
Room-by-Room Canvas Size Recommendations
Matching size to room gets easier once you have reference points for the furniture you’re actually working with.
- Above the sofa: Standard sofas run 72 to 96 inches wide. A single 24×36 or 30×40 canvas works for most, while wider sofas suit a triptych of 16×24 panels spaced evenly across the wall.
- Above the bed: For a king bed, apply the 60 to 80% rule against its roughly 76-inch width, landing on 24×36, 28×40, or 36×48 depending on how bold you want the statement. Queen beds run narrower, so scale down to 24×30 or a 20×30 pairing. Keep the bottom edge 6 to 8 inches above the headboard.
- Dining room and entryway: Panoramic formats (36×12 or 48×16) suit long walls above a buffet or console better than square proportions.
- Hallway: Narrow 11×14 or 16×20 pieces spaced in a repeating rhythm read better than one oversized canvas squeezed into a tight corridor.
- Gallery wall: Keep total span within 60 to 80% of the furniture or wall segment it sits above, limit vertical spread to about 60 inches, and leave 2 to 4 inches between each frame so the grouping reads as one composition rather than scattered pieces.
Canvas Depth and Framing: Which Profile Fits Your Space?
The physical thickness of a canvas changes how it presents on your wall, and it’s easy to overlook until the piece arrives. Thin profiles around half an inch to five-eighths of an inch look intentional inside a frame, while a bare thin canvas without framing can look flimsy.
Standard depth at three-quarters of an inch is the default most retailers ship, offering a middle ground that works framed or unframed. Gallery depth at 1.5 inches gives enough presence to hang frameless and still look substantial, a look renters and modern interiors favor since it skips framing costs entirely.
- Choose gallery depth if you want a frameless, sculptural look
- Choose standard depth if you’re planning to add a frame later
- Check wrap style: mirrored edges repeat the image border, image-wrap continues the photo around the sides, and colored edges add a clean, deliberate border
Hanging Checklist: Height, Spacing, and Hardware
Center your canvas at roughly 57 to 60 inches from the floor, the museum standard for eye-level viewing. In bedrooms or living rooms where people spend most of their time seated, lower that center a few inches so the art connects with the seated line of sight rather than the standing one.
Above a headboard, keep the bottom edge 6 to 8 inches above the headboard rather than centering purely on wall height, or the piece will float awkwardly high.
- Space multi-panel groupings 2 to 4 inches apart so they read as one unit
- Use D-rings and picture wire for canvases under 20 pounds; heavier gallery-depth pieces need wall anchors or stud mounting
- Tape your template to the wall first and check it against furniture edges before drilling anything
- Confirm stud locations for anything over 30×40, since gallery-depth frames carry more weight than they look like they should
Pro Tip: Mark your nail or anchor point with painter’s tape and step back ten feet before committing. A crooked or off-center canvas is far more noticeable at a distance than up close.
Why Material and Manufacturing Quality Matter
Longevity and color fidelity depend on what the canvas is made from, not just its dimensions. Archival inks resist fading for decades, and gallery-depth, museum-grade substrates hold their shape without warping. Luxuryartcanvas produces every piece in the USA on these standards, and readers scaling up to oversized formats can see practical sizing examples in this room-by-room scaling guide.
What Actually Matters When You’re Sizing a Canvas
Most sizing advice fixates on the wrong variable. People obsess over finding the “correct” size for a room type, as if a dining room has one right answer, when the furniture in front of it is the actual constraint. A sofa 20 inches shorter than your neighbor’s changes the math entirely.
The tape-template test gets skipped more than any other step in this guide, and it’s the one that prevents the most expensive mistakes. Everyone trusts a tape measure and a mental image of the wall, then orders a canvas that looks tiny once it’s actually hanging. Paper on the wall for three days costs nothing and tells you more than any size chart.
DPI anxiety is mostly overblown for large formats. Buyers agonize over resolution numbers for a 36×48 piece that will be viewed from across a living room, when the viewing distance itself does most of the forgiving. Save the resolution scrutiny for small, close-viewed pieces where every pixel is visible.
Material quality is the one area where cutting corners actually shows. Archival inks and gallery-depth, made-in-USA construction aren’t marketing flourishes. They’re the difference between a canvas that still looks sharp in ten years and one that fades in three.
— James
Six Marilyn Monroe Wall Art Ideas for Every Room Style
Make Any Room Pop with Museum Quality Andy Warhol Style Decor