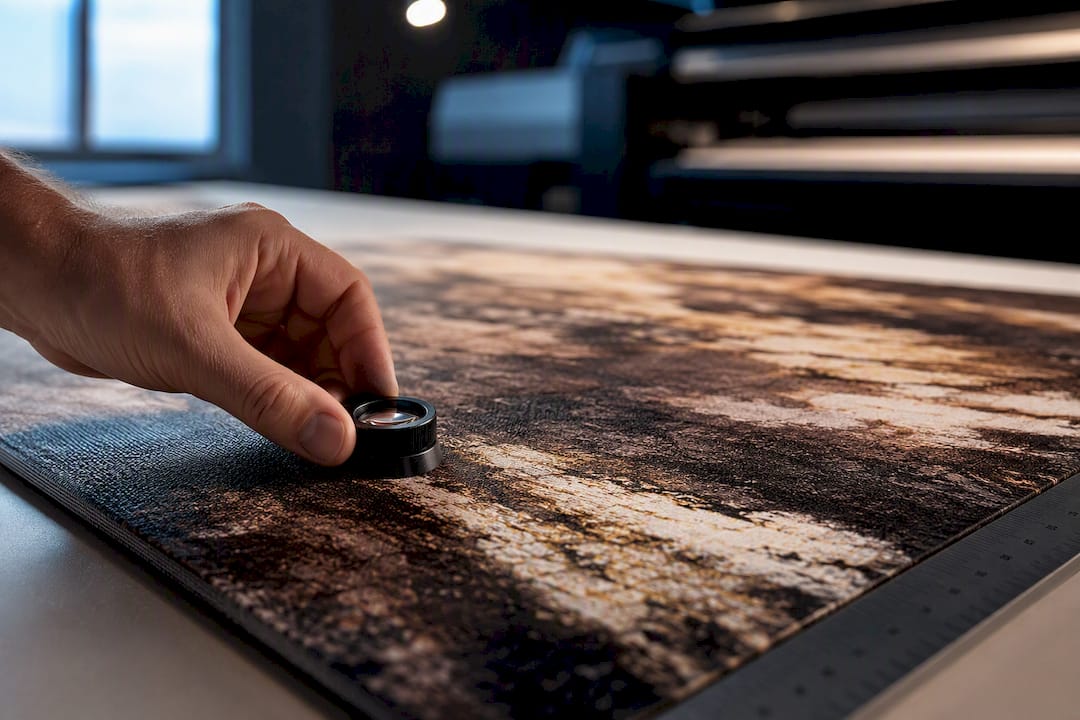
For most wall canvases, aim for 150 PPI at final print size. That number holds for anything from a 16×24 hanging over a sofa to an oversized statement piece behind a desk. Drop to 100 PPI on very large canvases viewed from across a room, and push up to 300 PPI only for small, close-view prints. James, who oversees production standards here, treats 150 as the anchor number, not 300.
Table of Contents
- Canvas Print DPI vs PPI: Which Number Actually Controls Quality
- The Math: Converting Pixels to Print Size
- Why Canvas Forgives Lower Resolution Than You Think
- How to Check Your Image and Calculate What You Can Print
- File-Prep Checklist for Canvas Prints
- Upscaling and Trade-Offs: When to Enlarge, When to Let It Go
- How Luxury Art Canvas Applies These PPI Rules in Production
- Get Your Canvas Right the First Time
- Sources
Canvas Print DPI vs PPI: Which Number Actually Controls Quality
PPI (pixels per inch) describes your image file: how densely the pixel data is packed. DPI (dots per inch) describes what your printer physically lays down on canvas. They get used interchangeably online, and that’s the source of most of the confusion around canvas print resolution.
You control PPI. You set it in Photoshop, Lightroom, or Affinity Photo when you export a file, and it’s the number that determines how large you can print before quality suffers. DPI is the print lab’s problem. Their RIP software interpolates your file’s pixel data into the physical dot pattern the printer produces, often at 720 or higher, regardless of your file’s PPI. That’s why chasing “300 DPI” as a universal rule doesn’t make sense for canvas printing settings. You’re not printing dots. You’re supplying pixels.
Before you send a file anywhere, check three things:
- Pixel dimensions (width × height in pixels, not inches)
- The PPI value embedded in the file’s metadata
- Color mode (should read RGB, not CMYK, for nearly all consumer canvas printing)
Get those three right and the lab’s DPI setting takes care of itself.
The Math: Converting Pixels to Print Size
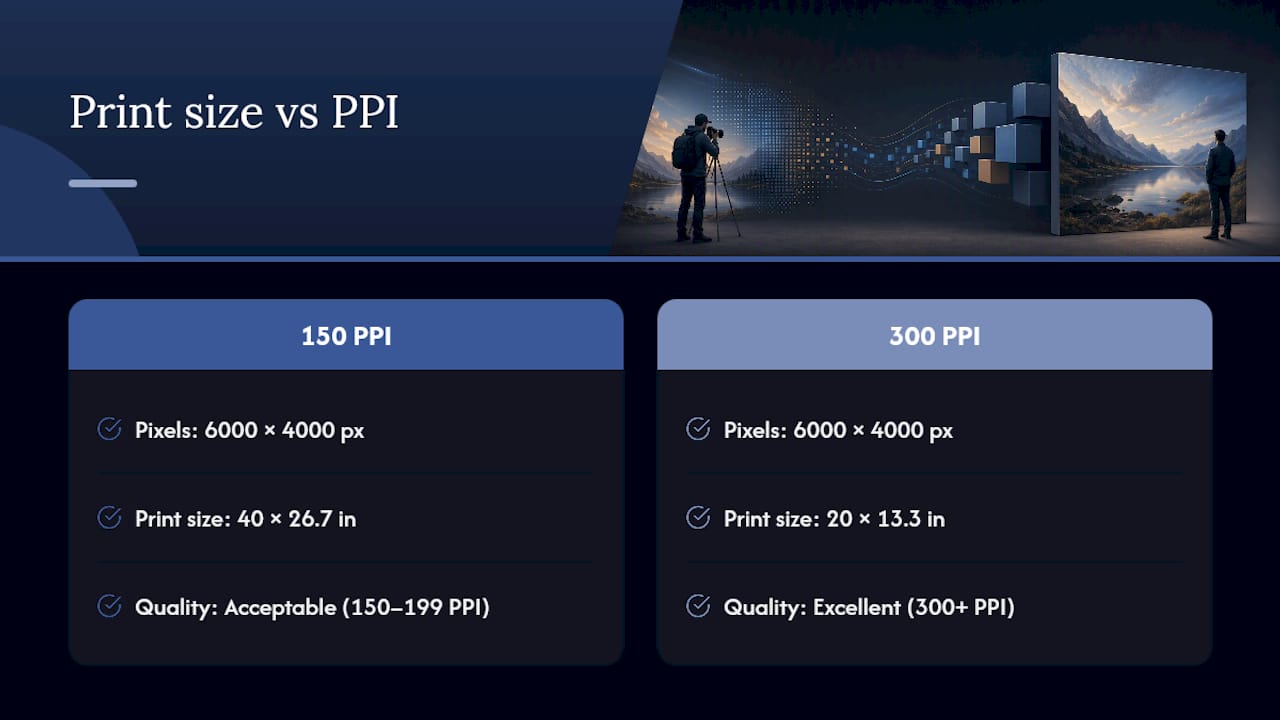
The formula behind every canvas print resolution decision is simple: print size in inches = pixel dimension ÷ PPI. A print size calculator built around this formula rates results as Excellent at 300+ PPI, Good at 200 to 299, and Acceptable at 150 to 199. Below 150, quality starts to degrade visibly at typical viewing distances.
Take a 24-megapixel camera file at 6000×4000 pixels. At 150 PPI, that file prints at 40×26.7 inches. At 300 PPI, the same file tops out at 20×13.3 inches. Same pixels, wildly different maximum size, depending entirely on which PPI target you choose.
Here’s how common canvas sizes translate into pixel requirements:
One more thing before you commit to a size: match your image’s aspect ratio to the canvas you’re ordering, or you’ll crop content out during resizing. A 3:2 camera file forced onto a square canvas loses the sides of the frame. Check the ratio first, then pick the closest standard size, or request a custom crop.
Why Canvas Forgives Lower Resolution Than You Think
Viewing distance does most of the heavy lifting here. Wall art typically gets viewed from 3 to 6 feet away, not with your nose against the surface, and at that distance the eye simply can’t resolve the pixel density that matters for something like a magazine page or a framed macro shot held at arm’s length.
The canvas surface itself compounds this. Woven texture breaks up the print surface in a way smooth photo paper doesn’t, which is part of why 150 to 200 PPI is the standard range print labs recommend for canvas specifically, even though the same file might look soft on gloss paper at that resolution.
Viewing distance changes the math entirely: at 1 to 2 meters, roughly 3 to 6 feet, 150 PPI reads as sharp as 300 PPI to the naked eye. That’s not a rounding error. It’s the entire reason canvas print DPI standards sit lower than what you’d want for a photo book or a fine-art print under glass.
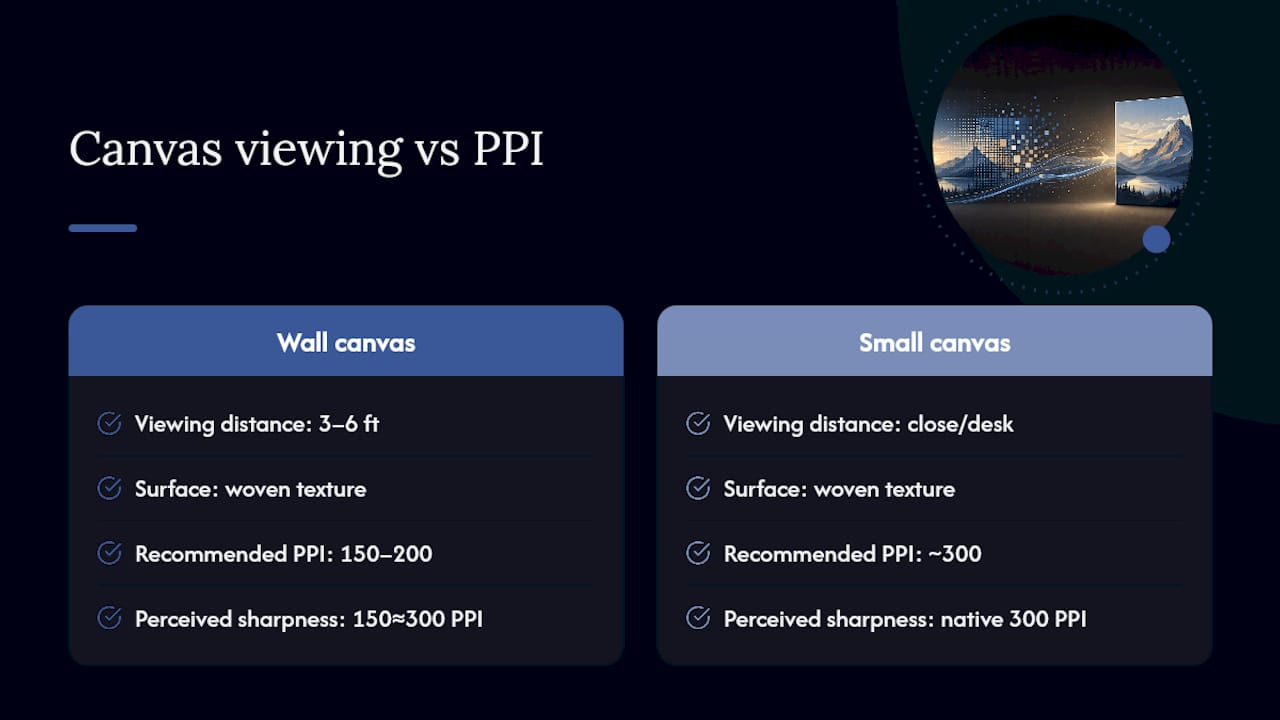
Practical pairings: a 20×30 living room canvas works fine at 150 to 200 PPI. A small 8×10 canvas meant to sit on a desk, viewed up close, benefits from pushing toward 300 PPI.
How to Check Your Image and Calculate What You Can Print
- Find your pixel dimensions. On a Mac, right click the file and choose Get Info. On Windows, right click, select Properties, then Details. In Photoshop or Lightroom, check Image Size.
- Pick your target PPI based on canvas size and how close people will stand. Use 150 for anything over 24 inches on the long side, 200 for mid-size pieces, 300 for small or close-view prints.
- Divide pixels by PPI to get your maximum print dimensions. A 4000-pixel-wide image at 150 PPI maxes out at 26.7 inches wide.
- Zoom to 100% and inspect a crop. This single check tells you more about print readiness than any DPI number. Look for softness, noise, or compression artifacts that a resize will only make worse.
- Match aspect ratio to a standard canvas size, or plan for a crop before you upload, so you don’t lose a subject’s edge to an automatic trim.
File-Prep Checklist for Canvas Prints
Get these settings right before you export, and you’ll skip almost every quality complaint that comes back from a canvas order.
- Color: Export in sRGB. Most consumer labs read sRGB correctly; only request an ICC profile if you’re color-matching to a specific brand or proof.
- Format: High-quality JPEG (minimal compression) or TIFF. Work in 16-bit if you’re still editing; flatten to 8-bit for the final export, since that’s what most print pipelines expect.
- Bleed: Add 1.5 to 2 inches of extra image around the edges for wrap-around canvases, and keep faces, text, or focal points at least that far from the border.
- Sharpening: Apply output sharpening after resizing, not before. Set the PPI value in your export dialog to match your intended print size. That metadata field is what some software reads to pre-fill print dimensions.
Pro Tip: Do your sharpening and bleed adjustments as the last two steps, in that order. Sharpening a file before you crop for bleed can leave halo artifacts right where the canvas wraps around the frame.
If you want a second pass at file prep before you commit, this photo print preparation guide covers similar groundwork for photo prints generally.
Upscaling and Trade-Offs: When to Enlarge, When to Let It Go
Upscaling isn’t cheating. It’s a tool, and modern algorithms handle it better than the “never upscale” advice from a decade ago suggests. That said, know the limits before you rely on it.
- Stay under 2x enlargement for safe results; anything past 4x needs careful, manual inspection at 100% zoom before you trust it.
- Use a dedicated upscaling tool, not a simple resize in your editor, if you’re stretching past 1.5x.
- Always re-sharpen after upscaling. The interpolation process softens edges even when it does its job well.
- When in doubt, choose a smaller canvas at native resolution over a larger one built on heavy upscaling. A slightly smaller, sharp file beats a big, soft one on the wall every time.
How Luxury Art Canvas Applies These PPI Rules in Production
That process sits behind more than 1,000 designs and the feedback from over 10,000 customers who’ve ordered from us. Getting the file right before printing is what keeps a canvas looking sharp on the wall, not just on a screen.
— James
Get Your Canvas Right the First Time
This process is simplified into a quick upload, not a spreadsheet exercise. Once your file clears the pixel and aspect ratio checks, you’re choosing a finished piece, not troubleshooting a resize.
Beyond ready-to-hang canvases across many designs, the system can flag file issues before ordering, not after the canvas ships. If your pixel dimensions fall short for the size you want, the service will advise what size works instead of printing a soft result and hoping you don’t notice. Browse the graffiti canvas wall art collection or check the large graffiti wall art options if you’re working with a bigger file and a bigger wall. Upload your image, pick your size, and we’ll confirm it prints clean before it goes to production.
Sources
- Understanding DPI vs PPI for optimal print quality | Red River
- Print Size & PPI Calculator | CalcRegistry
Designers: 12 Pop Art Color Palettes with HEX Codes That Hang Well
Museum Quality Bathroom Canvas Art Made in USA for Upscale Homes