
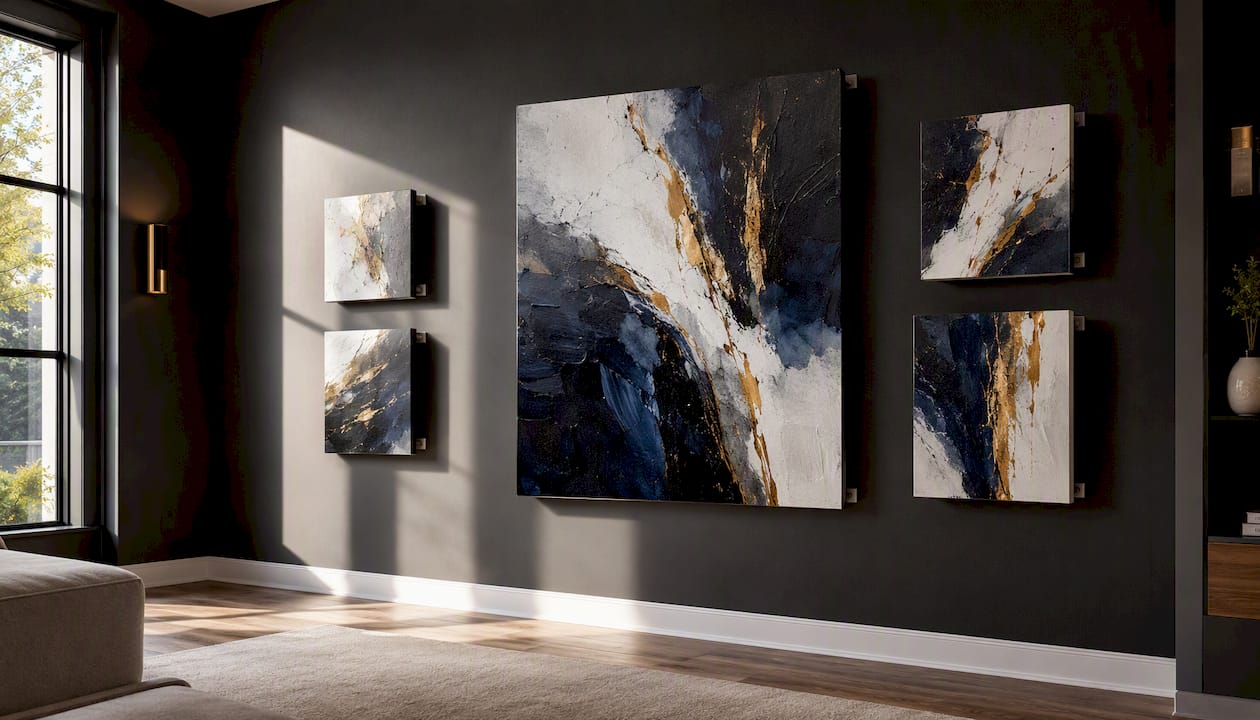
Layer a dominant statement canvas with 2–4 supporting canvases, staggered 1–3 inches forward, using odd-number groupings to create depth and visual balance.
Start here before you touch a single nail:
- Pick your dominant piece first. It should cover the majority of the visual weight of the arrangement.
- Measure your wall and furniture sightline. The center of your dominant canvas should sit at eye level, typically around average eye height from the floor.
- Lay everything on the floor. Arrange canvases in your planned composition before committing to any holes.
Key Takeaways
Layering statement canvases works when a single dominant piece anchors the arrangement and supporting canvases reinforce it through shared color, consistent spacing, and staggered physical depth.
| Point | Details |
|---|---|
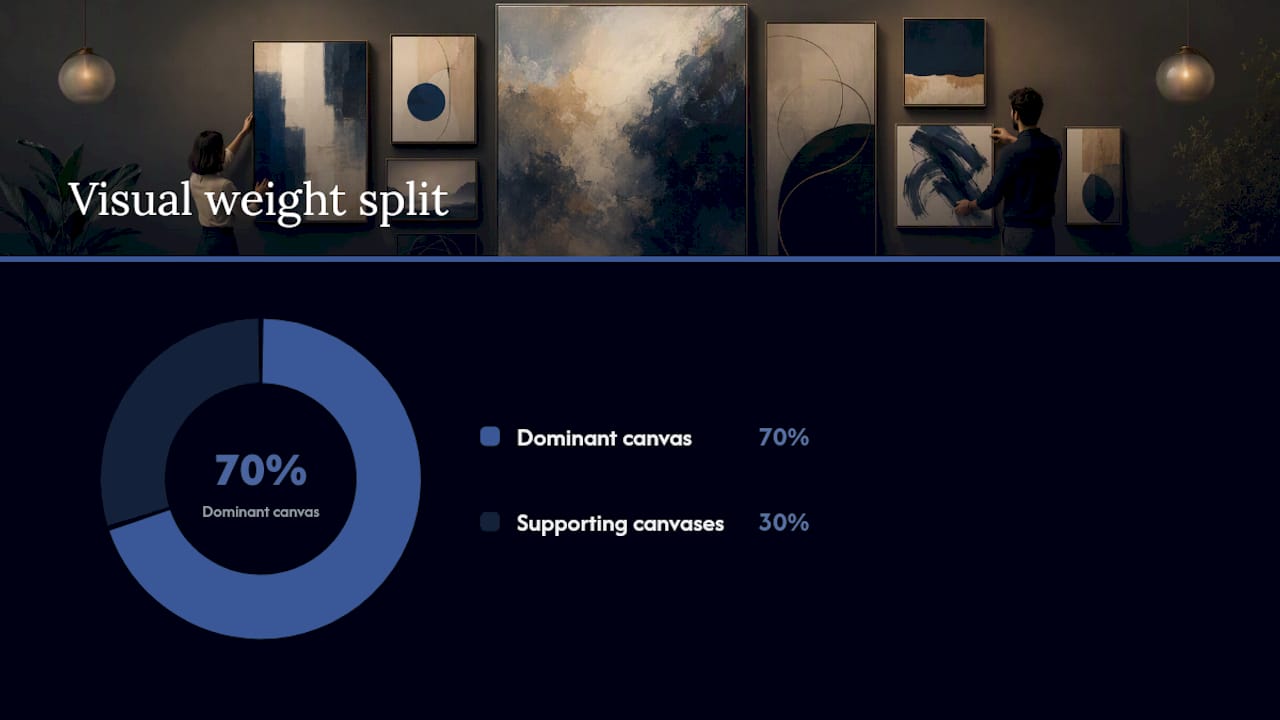
| Dominant piece first | Choose one canvas at 70% visual weight; add 2–4 supporting pieces around it. |
| Spacing and depth | Leave 2–3 inches between frames; use 1–3 inch spacers to create physical staggering. |
| Color thread | Repeat one accent color across at least two canvases to unify mixed materials. |
| Hardware by weight | Use French cleats or studs for canvases over 30 lbs; Command strips for pieces under 16 lbs. |
| Luxuryartcanvas | Ready-to-hang canvases in 1,000+ designs, made in the USA, sized for dominant and supporting roles in layered displays. |
Table of Contents
- Before you hang anything, run this quick checklist
- Scale and balance rules that make layered canvases look intentional
- How to mix framed art, canvas prints, and textures without visual conflict
- Mounting and leaning methods that create real physical depth
- Layout templates that work for different walls and rooms
- Color, lighting, and negative space in a layered display
- Common layering mistakes and how to fix them
- Why Luxuryartcanvas is built for layered gallery walls
- The rule most people skip is the one that matters most
- Luxuryartcanvas: ready-to-hang canvases built for layered displays
- Sources
Before you hang anything, run this quick checklist
A five-minute prep session prevents most layering mistakes. Gather these tools before you start:
- Tape measure and pencil
- Painter’s tape (for marking positions on the wall)
- A level app on your phone or a physical bubble level
- Picture hooks, drywall anchors, or molly bolts rated for your canvas weight
- Metal spacers or foam bumpers for creating physical depth between layers
- Paper templates cut to canvas dimensions (trace the back of each piece)
Once you have the tools, run through these prep steps:
- Identify your furniture sightline. For a sofa, that’s the top edge of the back cushion. For a console, it’s the surface itself.
- Lay all canvases on the floor in your intended arrangement. Step back and look from standing height.
- Choose your dominant canvas. Choose 2–4 supporting pieces that complement it without competing.
- Mock up the layout on the wall using painter’s tape outlines or paper templates before drilling.
Pro Tip: Digital mockup tools like Wallnora’s gallery wall generator let you visualize 2–8 artworks in curated layouts, including grids, salon arrangements, and triptychs, before you commit to a single hole.
Scale and balance rules that make layered canvases look intentional
The 70/30 rule
In practice, that means your anchor piece might be a 36×48-inch canvas, with two or three 12×16-inch or 18×24-inch pieces flanking or overlapping it. The dominant piece sets the tone; the supporting pieces amplify it.
The 2/3 rule for furniture anchoring
Matching canvas scale to furniture sightlines is one of the most consistent pieces of designer guidance available. The width of your total arrangement should span roughly two-thirds of the furniture piece below it. A 72-inch sofa calls for a gallery arrangement roughly 48 inches wide. Go narrower and the wall looks bare; go wider and the arrangement floats.
Odd-number groupings
Three canvases read more naturally than two; five read better than four. The eye resolves odd numbers faster because it can’t split them evenly. For a staggered layered display, three pieces is the sweet spot for most residential walls.
Spacing numbers that actually work
Designers typically recommend leaving 2–3 inches between frames for balance in a gallery arrangement. For physical depth layering, where one canvas sits in front of another, stagger pieces 1–3 inches forward using metal spacers.
How to mix framed art, canvas prints, and textures without visual conflict
Stretched gallery-wrap canvases and framed prints behave differently in a layered display. A gallery-wrap canvas has depth built in, typically 1.5–2 inches, which gives it a sculptural presence on the wall. A framed print sits flatter but adds a defined edge that can anchor a composition. Mixing both works well when you keep the frame finish consistent, matte black, natural wood, or brushed metal, across all framed pieces.
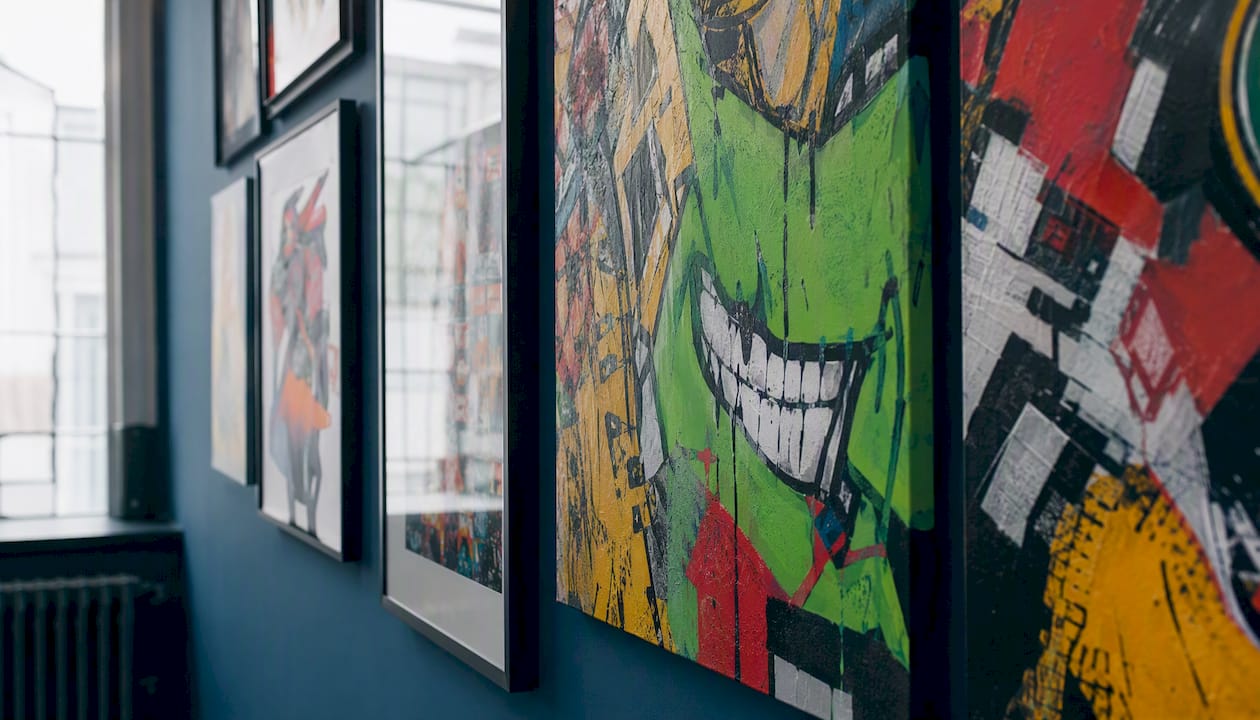
Surface texture changes how light reads across an artwork, and that principle matters when you’re selecting canvases for a layered display. A hand-textured canvas catches directional light differently than a flat print, creating subtle shadow variation that reinforces the sense of depth. Pair one textured piece with smoother prints rather than stacking multiple heavily textured canvases, which can compete visually.
Materials that add depth without clutter:
- Gallery-wrapped canvas with a 1.5-inch or 2-inch deep frame
- Floater frames, which create a shadow gap between canvas and frame edge
- Small sculptural wall objects or ceramic pieces mounted between canvases
- Mirrors used sparingly to bounce light and add perceived dimension
Pro Tip: Narrow your color palette to three tones across all pieces in the arrangement. Mixed materials unify instantly when they share a tonal family, even if the subjects and textures vary widely. Choosing canvas art for high-end rooms covers this in detail for luxury interiors.
Mounting and leaning methods that create real physical depth
Hardware options by use case
- Picture hooks with wire: Best for single canvases up to 20 lbs. Easy to adjust.
- Drywall anchors: Use for canvases between 20–50 lbs when studs aren’t available.
- Molly bolts: Heavier canvases, 50 lbs and above, on drywall without stud access.
- French cleats: The most secure option for large, heavy statement canvases. A French cleat distributes weight across a horizontal strip and allows horizontal repositioning without new holes.
- Gallery wire and rail systems: Galleries use these because they allow curators to shift placement and adjust sightlines without drilling new holes, which is exactly what you want when experimenting with layered arrangements.
- Command strips: Renter-friendly for canvases under 16 lbs. Check the weight rating on the package; never exceed it.
- Metal spacers: Mount between the canvas and wall to push a piece 1–3 inches forward, creating physical depth in a layered display.
Step-by-step for staggered depth
- Mark the hanging point for your dominant canvas with a pencil. Use a level to confirm horizontal alignment.
- Install the appropriate anchor or hook rated above your canvas weight.
- Hang the dominant canvas and confirm it sits level.
- Attach metal spacers to the back corners of your forward-layer canvas. Spacer depth determines how far it projects from the wall.
- Mark and install the second hanging point, offset from the first by your planned overlap distance.
- Hang the forward canvas and check that the overlap reads as intentional, not accidental.
- For shelf-leaning, place the dominant canvas at the back of the ledge and lean smaller supporting pieces in front, angled slightly forward.
For canvases over 30 lbs, locate wall studs with a stud finder and drive screws directly into framing. When in doubt, hire a professional installer.
Layout templates that work for different walls and rooms
Multi-canvas layouts typically center a focal piece and surround it with smaller canvases to build a visual story. Here are the templates that translate best to home gallery walls:
- Centered dominant with halo: One large canvas centered, two or four smaller pieces arranged symmetrically around it. Works best on sofa walls and above fireplaces. Keep 2–3 inches between pieces.
- Stacked triptych with front-layer accent: Three same-size canvases arranged vertically or horizontally, with a fourth smaller canvas mounted slightly forward using spacers. Creates depth without salon-style complexity. Good for hallways and narrow walls.
- Ledge display with overlapping canvases: A picture ledge holds 3–5 canvases of varying heights, leaned at slight angles with front pieces overlapping back pieces by 2–4 inches. The most flexible format because you can rearrange without new holes. Ideal for renters and seasonal updates.
- Salon/organic cluster: Asymmetric arrangement of 5–9 pieces, anchored by the dominant canvas slightly left or right of center. Leave 2–3 inches between frames. Best for high-ceiling gallery walls and staircase walls where rigid symmetry looks stiff.
- Anchored triptych for dining rooms: Three horizontal canvases stacked vertically, centered above a dining table or sideboard. The arrangement width should match the furniture below it. Statement canvases for dining rooms work particularly well in this format.
For high-ceiling gallery walls, extend the arrangement vertically and use larger supporting pieces. For small nooks, a three-piece ledge display or a single dominant canvas with one supporting piece keeps the space from feeling crowded.
Color, lighting, and negative space in a layered display
Color is the fastest way to make a layered arrangement read as a single composition rather than a collection of unrelated pieces. Repeat one accent color or motif across at least two canvases in the arrangement. Edward Martin’s canvas pairing guidance makes this point clearly: a shared color thread ties mixed materials to the room’s palette without requiring identical styles.
Mark Rothko’s thin-layer technique, which used translucent washes to create luminous floating color fields, offers a useful principle for selecting canvases: pieces with layered tonal relationships, where one color bleeds into another, create visual depth even before you add physical staggering. Rothko’s approach translates directly to choosing canvases whose color fields complement rather than compete.
Lighting strategies that reinforce depth:
- Directional picture lights: Mount above the dominant canvas to cast a downward wash that emphasizes texture and shadow.
- Adjustable track lighting: Angle individual heads to light different layers separately, which makes the staggered depth visible from across the room.
- Side lighting: A floor lamp or sconce positioned to the side of the arrangement creates raking light that picks up surface texture on hand-painted or textured canvases.
Negative space matters as much as the canvases themselves. Leave at least 6–8 inches of bare wall around the outer edge of your arrangement. Crowding the arrangement to the edges of a wall eliminates the breathing room that makes layered compositions look curated rather than cluttered. Three-dimensional elements like small shelves or sculptural objects placed near (not inside) the arrangement reinforce depth without adding visual noise to the composition itself.
Pro Tip: When updating a layered gallery wall seasonally, swap only the supporting pieces, not the dominant canvas. Keeping the anchor piece constant preserves the composition’s structure while the new supporting pieces shift the mood.
Common layering mistakes and how to fix them
| Mistake | Quick fix |
|---|---|
| Too many competing focal points | Remove or neutralize one piece. Repaint or cover a canvas with a neutral linen panel if you want to keep it on the wall. |
| Dominant canvas hung too high | Lower it so the center sits at 57–60 inches from the floor, regardless of ceiling height. |
| Inconsistent spacer depth | Standardize all spacers to the same depth. Mixed projection distances make the arrangement look unfinished. |
| Frames and canvases with clashing finishes | Limit frame finishes to one or two. Matte black and natural wood work together; mixing gold, silver, and black rarely does. |
| Salon cluster looks chaotic | Remove the smallest pieces first. A cluster of 5 reads cleaner than a cluster of 9 in most residential spaces. |
Additional fixes worth knowing:
- To reposition without extra holes, use painter’s tape to mark new positions before drilling. Patch old holes with spackling compound and touch up with matching paint.
- If a salon cluster feels uneven, check whether the visual weight is balanced left-to-right. Move one mid-size piece from the heavy side to the lighter side before adding or removing anything.
- When in doubt, simplify. A three-piece arrangement done well outperforms a nine-piece arrangement done poorly every time.
Why Luxuryartcanvas is built for layered gallery walls
Luxuryartcanvas produces ready-to-hang statement canvases in over 1,000 designs, made in the USA with archival inks and gallery-quality materials. The catalog spans graffiti, pop art, and high-fashion motifs from Chanel, Louis Vuitton, Versace, and Dior, alongside street-art-inspired pieces in the tradition of Banksy.
Every canvas ships ready to hang, with hardware included, which removes the guesswork from the mounting step. Gallery-wrap construction gives each piece the 1.5-inch depth that makes physical layering work without additional spacers on the dominant piece.
Key strengths for layered displays:
- Multiple size options within the same design family, so dominant and supporting pieces share a visual language
- Archival inks that hold color fidelity under directional lighting
- Gallery wall ideas and styling guides available on the site for layout and composition support
- Over 10,000 satisfied customers, with designs suited to both residential and commercial installations
For readers building a layered display, the bold wall art statement piece examples page shows dominant canvas options across room types, which is a practical starting point for choosing your anchor piece before selecting supporting canvases.
The rule most people skip is the one that matters most
Most layering advice focuses on spacing and hardware, and that’s useful. But the single biggest reason a layered gallery wall looks off has nothing to do with inches between frames. It’s that the dominant canvas was chosen last, after the supporting pieces were already purchased, which means the anchor is undersized, underpowered, or stylistically mismatched with everything around it.
The 70/30 rule isn’t a design preference. It’s a perceptual reality. The eye needs one clear place to land before it can appreciate the supporting pieces. Without that anchor, the arrangement reads as a collection, not a composition.
The second thing most guides understate: physical depth is more powerful than visual complexity. Two canvases staggered 2 inches forward and back, with a shared color thread, will read as more intentional than seven canvases hung flat at the same depth with varied subjects. Fewer pieces, more depth, one dominant anchor. That’s the formula.
Color repetition is the third lever, and it’s the cheapest fix available. If your layered arrangement feels disjointed, add one piece that shares an accent color with the dominant canvas. The arrangement will read as planned rather than assembled.
Luxuryartcanvas: ready-to-hang canvases built for layered displays
Building a layered gallery wall means committing to a dominant piece first, and that piece needs to be worth anchoring to. Luxuryartcanvas offers over 1,000 ready-to-hang statement canvases, each produced in the USA with archival inks and gallery-wrap construction, sized to serve as the focal anchor or a supporting layer in any arrangement.

The catalog covers graffiti, pop art, and high-fashion motifs across multiple sizes, so you can select a large graffiti statement canvas as your dominant piece and pull supporting canvases from the same design family for instant visual cohesion. Every canvas ships with hanging hardware included. No sourcing spacers separately, no guessing about depth. Browse the full graffiti canvas collection and pop art options to find your anchor piece, then build the arrangement around it.
Sources
Resources worth bookmarking before you hang:
How to Make Every Room a Statement: The Interior Design Approach to Art-Forward Spaces
How Street Art Became Fine Art: History and Market Forces